Introduction to Licence Manager v2
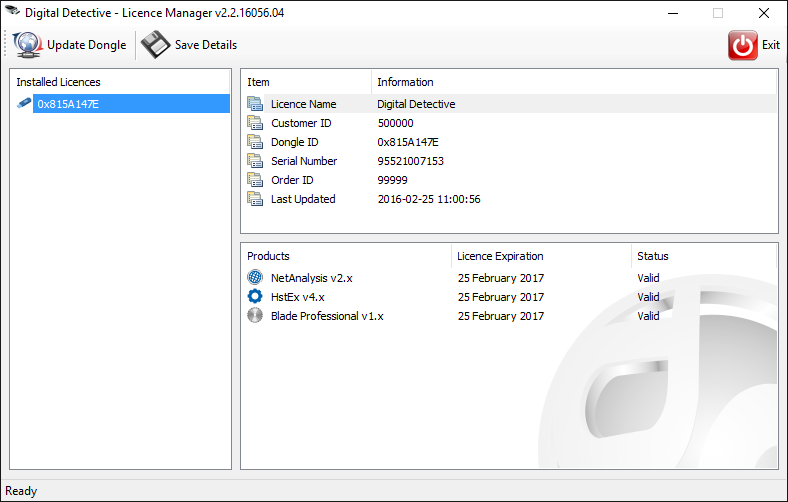
Our Licence Manager application has been designed to help you review and manage the software licence subscriptions held on Digital Detective licence dongles. It also allows us to remotely update your licence subscription so you can work with the latest versions of our software.
To update a USB licence dongle, all you will need is a computer running Microsoft Windows 7 or later, our Licence Manager software and an Internet connection.
Figure 1
Installing Licence Manager
To install the Licence Manager follow the steps outlined below:
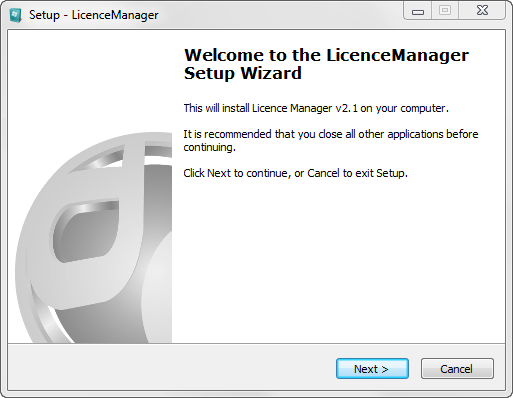
- Run the Licence Manager setup executable.
Figure 2
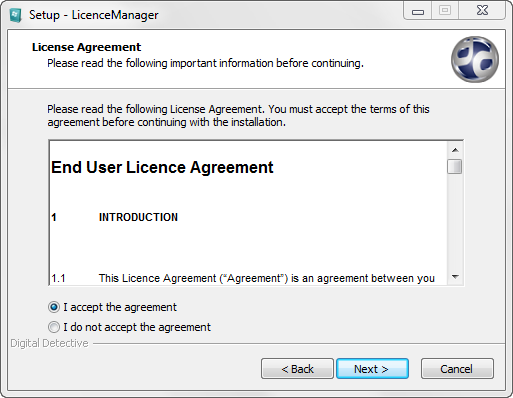
- Follow the on screen instructions and accept the licence agreement (as shown in Figure 3).
Figure 3 - Select a destination folder for the Licence Manager tool (as shown in Figure 4) and a start menu folder.
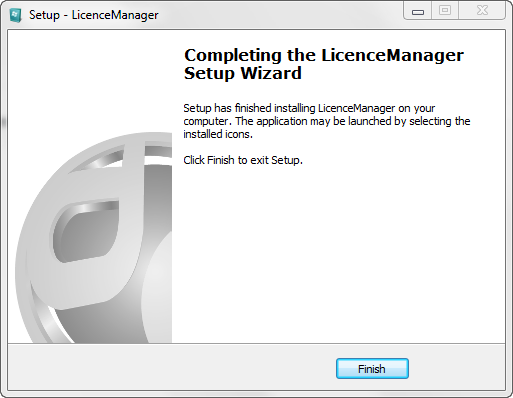
Figure 4 - Select the Install button to start the installation process. Once this is complete select the Finish button (as shown in Figure 5).
Figure 5
Procedure for Updating a USB Dongle / Adding New Licence Subscription
To update a dongle, please follow the following instructions:
- Run the Licence Manager software
- Insert the USB dongle you wish to update
- Click on the USB Dongle ID in the Installed Licences list
- Click the Update Dongle button
You will need to install the Licence Manager on a computer which has Internet access.
It is extremely important that during the update process the dongle is not removed and that the system power remains on. If these instructions are not adhered to, there is a likelihood that the device will be permanently damaged!
Each dongle is uniquely identified by an electronic ID number (Dongle ID) which is hard coded into the device (cannot be changed) and a serial number which is etched onto the outside of the device, or displayed on a barcoded label. The Licence Manager can be used to review the licence information stored in the dongle and will also allow you to copy this information to the clipboard if required. You can also save the details for any inserted dongle(s) to a text file.
Detailed Steps:
- Install the Licence Manager (if not already installed)
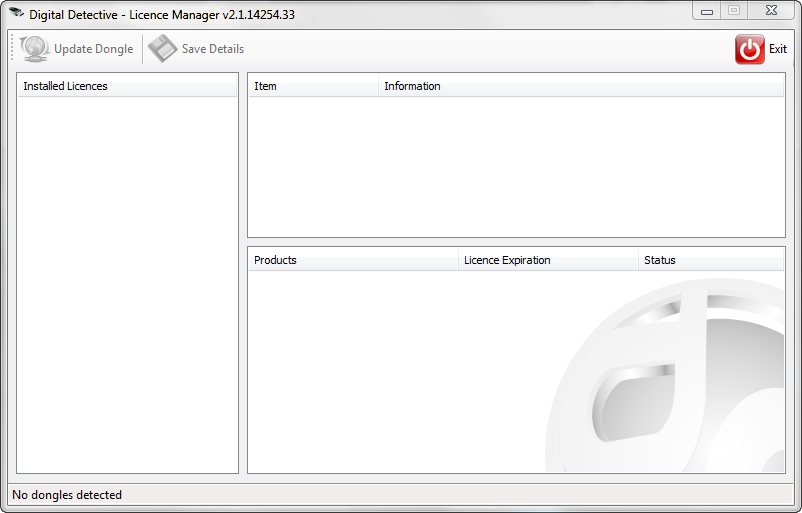
- Run the Licence Manager, the main screen should appear (as shown in Figure 6)
Figure 6 - In order to update your licence(s) you must plug in the dongle you wish to update into one of your machine's USB ports.
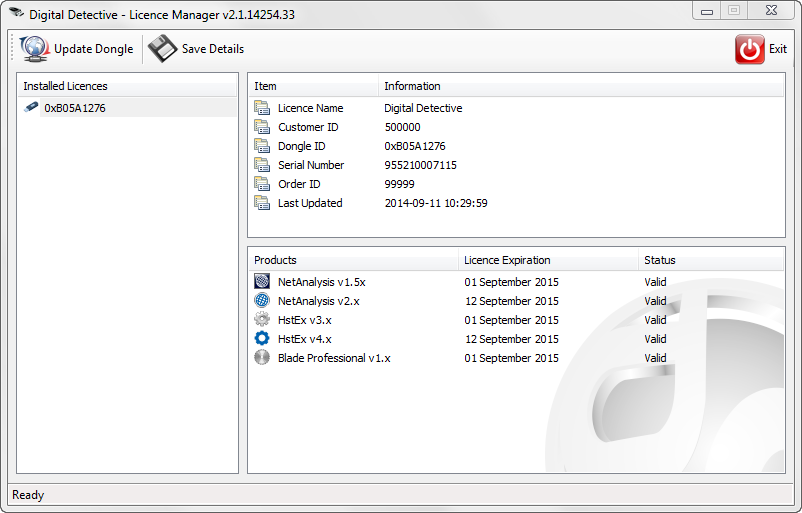
Once you have plugged in your dongle you will see the information associated with the dongle and any installed licence(s) (as shown in Figure 7).
Figure 7 To update the dongle, simply select the correct Dongle and Click the Update Dongle button. The dongle will contact our licence server (as shown in Figure 8) and update your licence(s) accordingly.
Figure 8
Once Licence Manager has finished updating your dongle, the information panels will reload showing you all the new details associated with the dongle. The process should only take a few seconds.Licence is already up to date
If your licence is already up to date you will receive a message stating this.
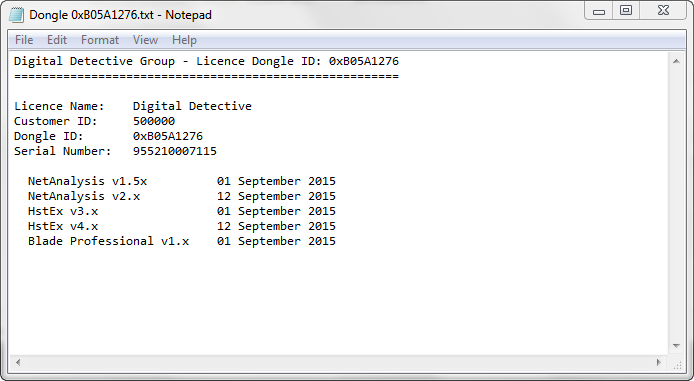
If you wish to Save your licence details you can do so by clicking the Save Details button. A dialog box will ask you where you wish to save your dongle information. The Licence Manager will save the information to a text file (as shown in Figure 9).
Figure 9
Using Multiple Dongles
Licence Manager allows users to load multiple dongles into the application (as shown in Figure 10). However it is important to note you can only update one USB dongle at a time.
Simply select the dongle you wish to update in the "Installed Licences" section and click the Update Dongle button
Figure 10
Once you have finished updating your licence(s) you may now close the Licence Manager and remove the USB dongle if you wish.
Dongle Cannot Be Found in Database
If you receive a warning message informing you that your dongle cannot be found, you should NOT be using Licence Manager v2. Only use Licence Manager v2 if you have been directed to do so by our technical staff.


