| Table of Contents |
|---|
Quick Start Guide
HstEx® is a state-of-the-art data recovery tool. It was specifically designed to identify and recover deleted artefacts relating to Internet browsers and user activity on computer systems and mobile devices. HstEx® v4 is capable of searching a number of different source types such as physical/logical devices or forensic image files.
| Info |
|---|
We recommend running HstEx® against your source image/disk as well as importing the live data into NetAnalysis®. |
Starting a New Session
When you run HstEx®, the first thing you will need to do is create a New Session. A session holds the information relating to any recovery jobs you add to the session. The session is saved to a session database with the file extension *.hx4s.
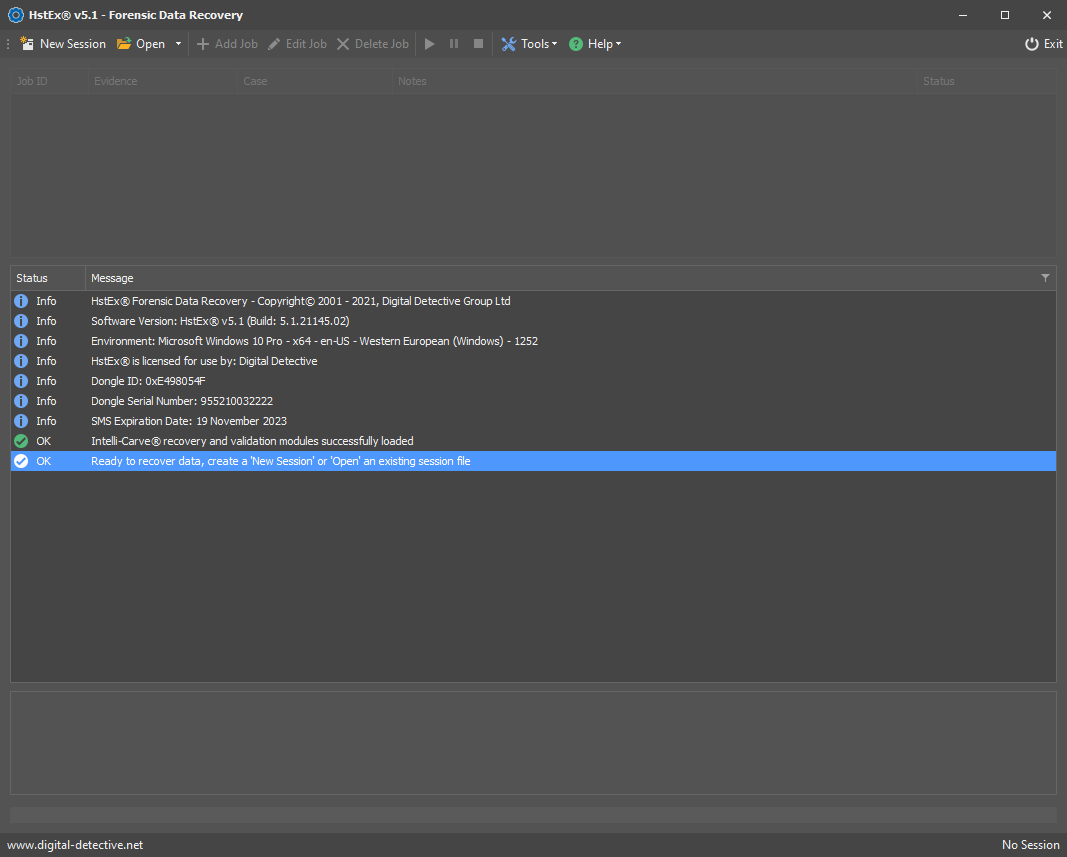
The above window shows HstEx® without any session loaded.
Click the New Session button and save the session database to your computer.
![]()
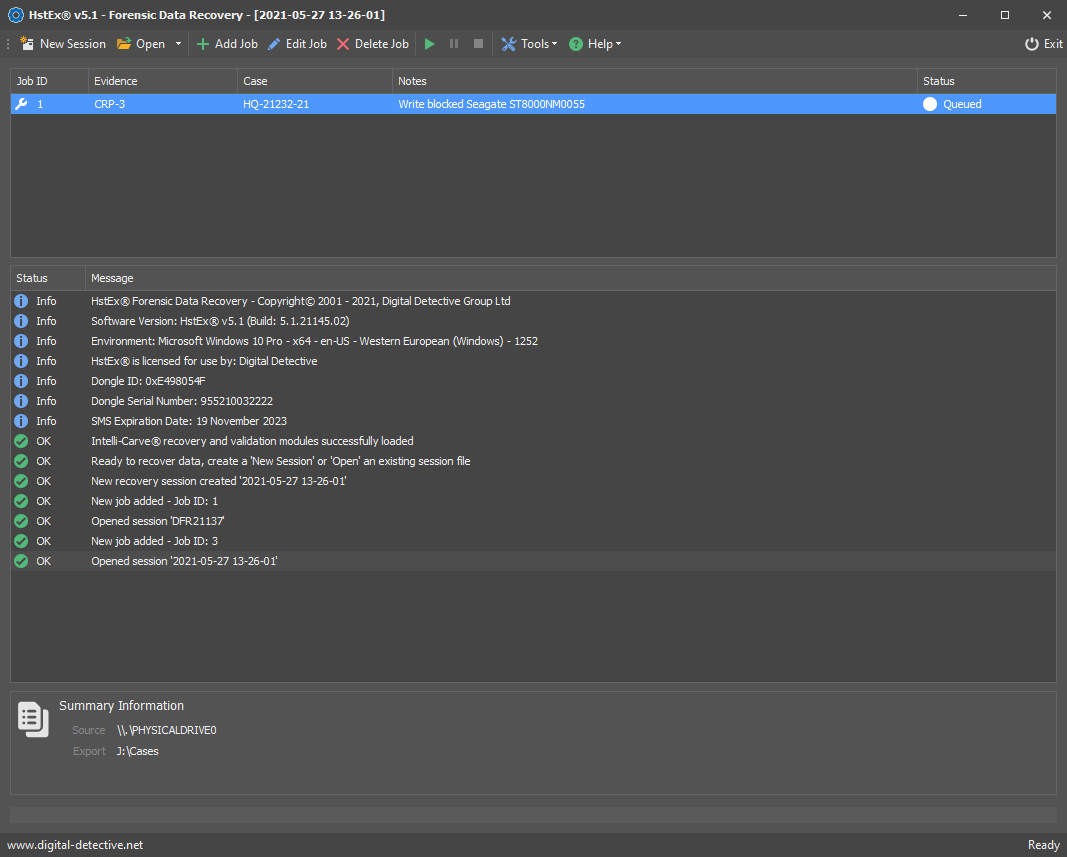
The above window shows HstEx® with a new session loaded. This session does not contain any recovery jobs. The next step is to create a recovery job (or multiple jobs if required).
Click the Add Job button on the toolbar.

The above window shows the configuration settings for a recovery job. There are a number of mandatory fields/options to select before a recovery job can be saved.
Data Source
The data source is the device or image file you select to recover data from. When you click the source button, HstEx® will display a menu with two options:
- Disk Image / Binary File
- Physical / Logical Devices
Option 1 will open a file selection window which will allow you to select a file (or forensic image set) as the source.
Options 2 will open a window showing the attached Physical/Logical devices, allowing you to select one as a source.
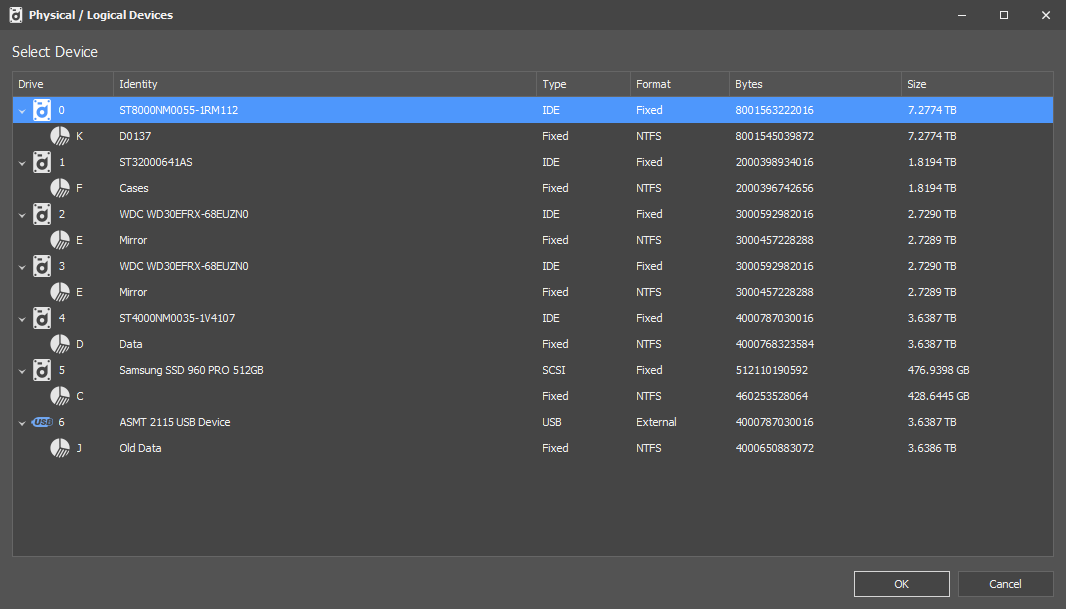
The above window shows the window for selecting physical/logical devices.
Export Folder
The export folder is the location where you want the recovered data to be written to. HstEx® v4 writes the recovered data to our proprietary hstx files, which in turn, are written to the export folder. These files are encrypted and can be imported into NetAnalysis® once the recovery has been completed.
Case Information
This information relates to the case for this recovery job. The Case Reference and Exhibit Reference are mandatory fields. The Notes field is optional and can be used to store any information relating to this job. The case information is stored in the output files and are written to both the HstEx® and NetAnalysis® logs.
Recovery Module
On the left hand side of the Recovery Job window, we have a tree list showing the available recovery modules. By clicking on any of the browser types will expand the tree showing the specific recovery modules. Select as little or as many recovery modules as required. You can also click on the toolbar buttons to select the most common options, or the appropriate options for your source Operating System or device type.
| Info |
|---|
Selecting all modules for recovery will slow down the searching / recovery process, so select the recovery modules wisely. |

When you have finished configuring the recovery job, you should have a window which looks similar to the one above. Clicking OK will save the Recovery Job.
The above window shows HstEx® with a single job added to the session. At this point, you can go ahead and process this single job or add further recovery jobs to the queue. You can also select the order in which the jobs are processed.
| Note |
|---|
When HstEx® is running, it will prevent the Operating System from sleeping or activating hibernation mode |
Running the Recovery
To start the recovery process, click the Start button (or press F5).

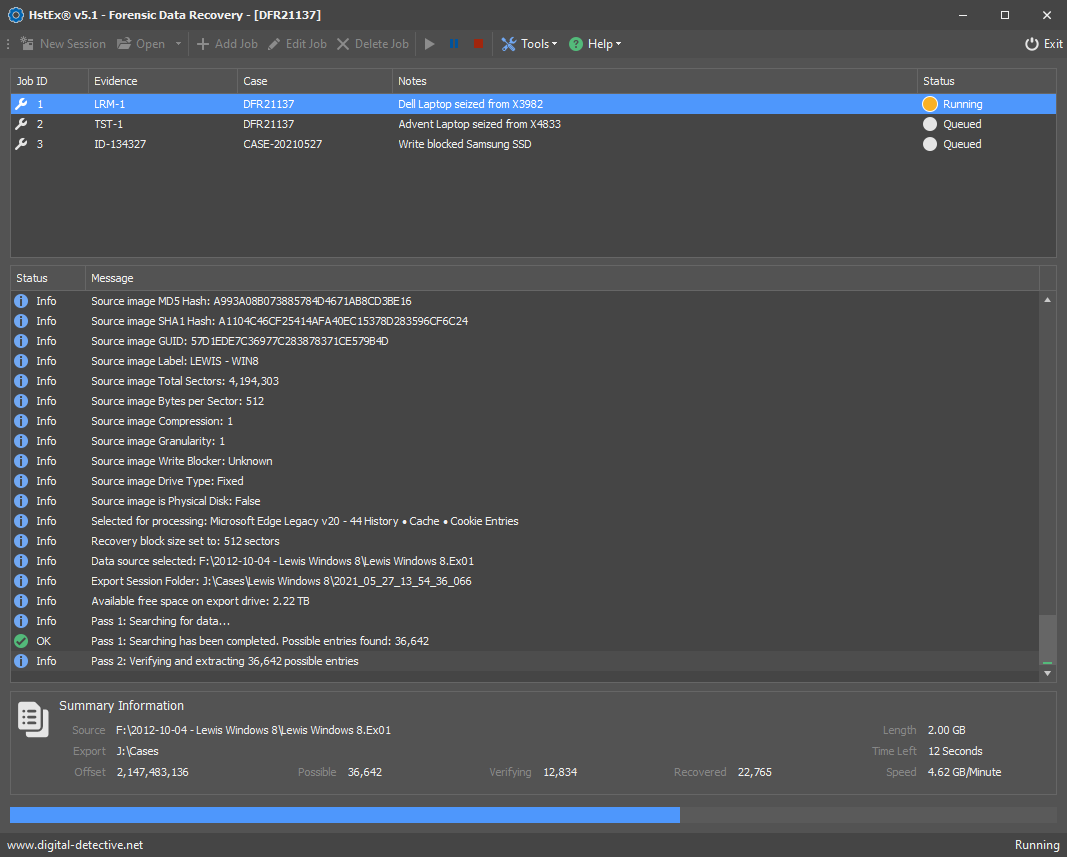
The above window shows HstEx® running a recovery job. This session contains three recovery jobs. When the first job has completed, the other jobs in the queue will be processed in order. Prior to running the recovery, the user can select the job priority by re-ordering the recovery jobs in the grid.
Summary Information
The Summary Information panel shows the recovery status information for a job. It will also estimate how long the current job is likely to take to complete each phase. In the first instance, HstEx® will search the source for each selected recovery module. If it detects data which could possibly be a recoverable item, it will add the count to the Possible value count. During the second phase of recovery, it will process each possible item and validate whether the data is a valid recoverable item. Using our Intelli-Carve® technology, it verifies the data and writes the recovered data to the HstEx® output files.
Completion
When HstEx® has completed processing a source, and data has been recovered, the export folder will contain the recovered data in the form of hstx files. These files can then be loaded into NetAnalysis® for further investigation and analysis.
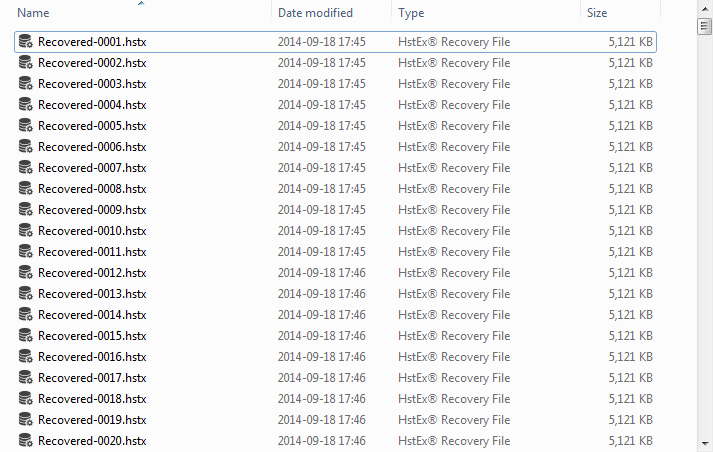
The above window shows a number of recovery files from a completed HstEx® recovery job.
Download HstEx® User Guide
The combined NetAnalysis®/HstEx® User Guide can be downloaded by clicking the button below.